Animating Modal View Controller Transitions
Tips and gotchas when implementing custom transition animations
Highlights
- Avoid modifying the views of the presenting or presented view controllers during the animation. UIView snapshots are your friend!
- Custom transition animations don’t require
modalPresentationStyle = .customunless the presentation itself needs to be customized, not just the transition. (Just remember to add thetoview controller’s view to the transition context) - Be sure to set the frame of the presented view controller to the bounds of the container view, otherwise you may run into subtle bugs, such as layout issues when the in-call status bar is presented.
Modality can mean a lot of things. In terms of software UI, it generally means a “window” that is presented over the main window, requiring user interaction before returning to the main task.
On iOS, we use modal presentations all the time - any time a view controller presents another, that is a modal presentation.
let vc1 = UIViewController()
let vc2 = UIViewController()

// A modal presentation!
vc1.present(vc2, animated: true, completion: nil)
With the above code the presented view controller will appear from the bottom of the screen, sliding up to cover and fill the screen. This is the default animation. Apple gives us a few other options, set via the modalTransitionStyle enum on the presented view controller (the default, described above, is .coverVertical).
However, in iOS 7 Apple gave us the ability to customize this transition, by supplying an object confirming to UIViewControllerTransitioningDelegate to the presented view controller’s transitioningDelegate. When this is set, the presented view controller will ask the transitioning delegate for any custom animation controllers for presentation and dismissal. (Additionally, it will ask for a UIPresentationController if the presented view controllers’ modalPresentationStyle is set to UIModalPresentationStyle.custom. This will be covered in a follow up post.)
let transitioningDelegate = CustomTransitioningDelegate()

let vc1 = UIViewController()

let vc2 = UIViewController()
vc2.modalPresentationStyle = .custom
vc2.transitioningDelegate = transitioningDelegate

// A custom modal presentation!
vc1.present(vc2, animated: true, completion: nil)
🌶 Warning: do not set modalPresentationStyle to .custom without a custom presentation controller, unless you want the presenting view controller to remain in the view hierarchy during the presentation! The default modal presentation style of .fullScreen removes the presenting view controller from the view hierarchy after the transition, which is generally what you want unless you have a custom presentation where the view would still be visible.
OK, let’s create a simple app that will use a custom animation for presenting and dismissing a modal view.
I’ll create a new single view project, setting it up with version control and no storyboards.
Create a new view controller class for the main screen of our app, EmojisViewController:
class EmojiViewController: UIViewController {

  override func viewDidLoad() {
    super.viewDidLoad()

    view.backgroundColor = .black
    // TODO: Display our Emojis!
  }
}
And set as the root view controller in AppDelegate.swift:
  func application(_ application: UIApplication, didFinishLaunchingWithOptions launchOptions: [UIApplication.LaunchOptionsKey: Any]?) -> Bool {
    window = UIWindow(frame: UIScreen.main.bounds)
    window!.rootViewController = EmojiViewController()
    window!.makeKeyAndVisible()
    return true
  }
OK, let’s display a bunch of emojis in a collection view. Selecting one will present a modal so the user can view it up close, in all its glory.
First, we’ll create a simple UICollectionViewCell containing a label to display each emoji:
class EmojiCollectionViewCell: UICollectionViewCell {

  let label = UILabel()

  override init(frame: CGRect) {
    super.init(frame: frame)

    contentView.addSubview(label)
    label.translatesAutoresizingMaskIntoConstraints = false
    label.centerXAnchor.constraint(equalTo: contentView.centerXAnchor).isActive = true
    label.centerYAnchor.constraint(equalTo: contentView.centerYAnchor).isActive = true
  }

  required init?(coder aDecoder: NSCoder) {
    fatalError("init(coder:) has not been implemented")
  }
}
And update EmojiViewController to display some common emojis:
private let reuseId = "Cell"

class EmojiViewController: UICollectionViewController {

  init() {
    super.init(collectionViewLayout: UICollectionViewFlowLayout())
  }

  required init?(coder aDecoder: NSCoder) {
    fatalError("init(coder:) has not been implemented")
  }

  private let emojis = (0x1F601...0x1F64F).map { String(UnicodeScalar($0)!) }

  override func viewDidLoad() {
    super.viewDidLoad()

    view.backgroundColor = .black

    let flowLayout = (collectionViewLayout as! UICollectionViewFlowLayout)
    flowLayout.itemSize = CGSize(width: 44, height: 44)
    collectionView.register(EmojiCollectionViewCell.self, forCellWithReuseIdentifier: reuseId)
  }
}

// MARK: UICollectionViewDataSource
extension EmojiViewController {

  override func numberOfSections(in collectionView: UICollectionView) -> Int {
    return 1
  }

  override func collectionView(_ collectionView: UICollectionView, numberOfItemsInSection section: Int) -> Int {
    return emojis.count
  }

  override func collectionView(_ collectionView: UICollectionView, cellForItemAt indexPath: IndexPath) -> UICollectionViewCell {
    let cell = collectionView.dequeueReusableCell(withReuseIdentifier: reuseId, for: indexPath) as! EmojiCollectionViewCell
    cell.label.text = emojis[indexPath.row]
    return cell
  }

}

// MARK: UICollectionViewDelegate
extension EmojiViewController {

  override func collectionView(_ collectionView: UICollectionView, didSelectItemAt indexPath: IndexPath) {
    let emoji = emojis[indexPath.row]
    print("TODO: present emoji detail with: \(emoji)")
  }

}
Running the project now should give something like this:
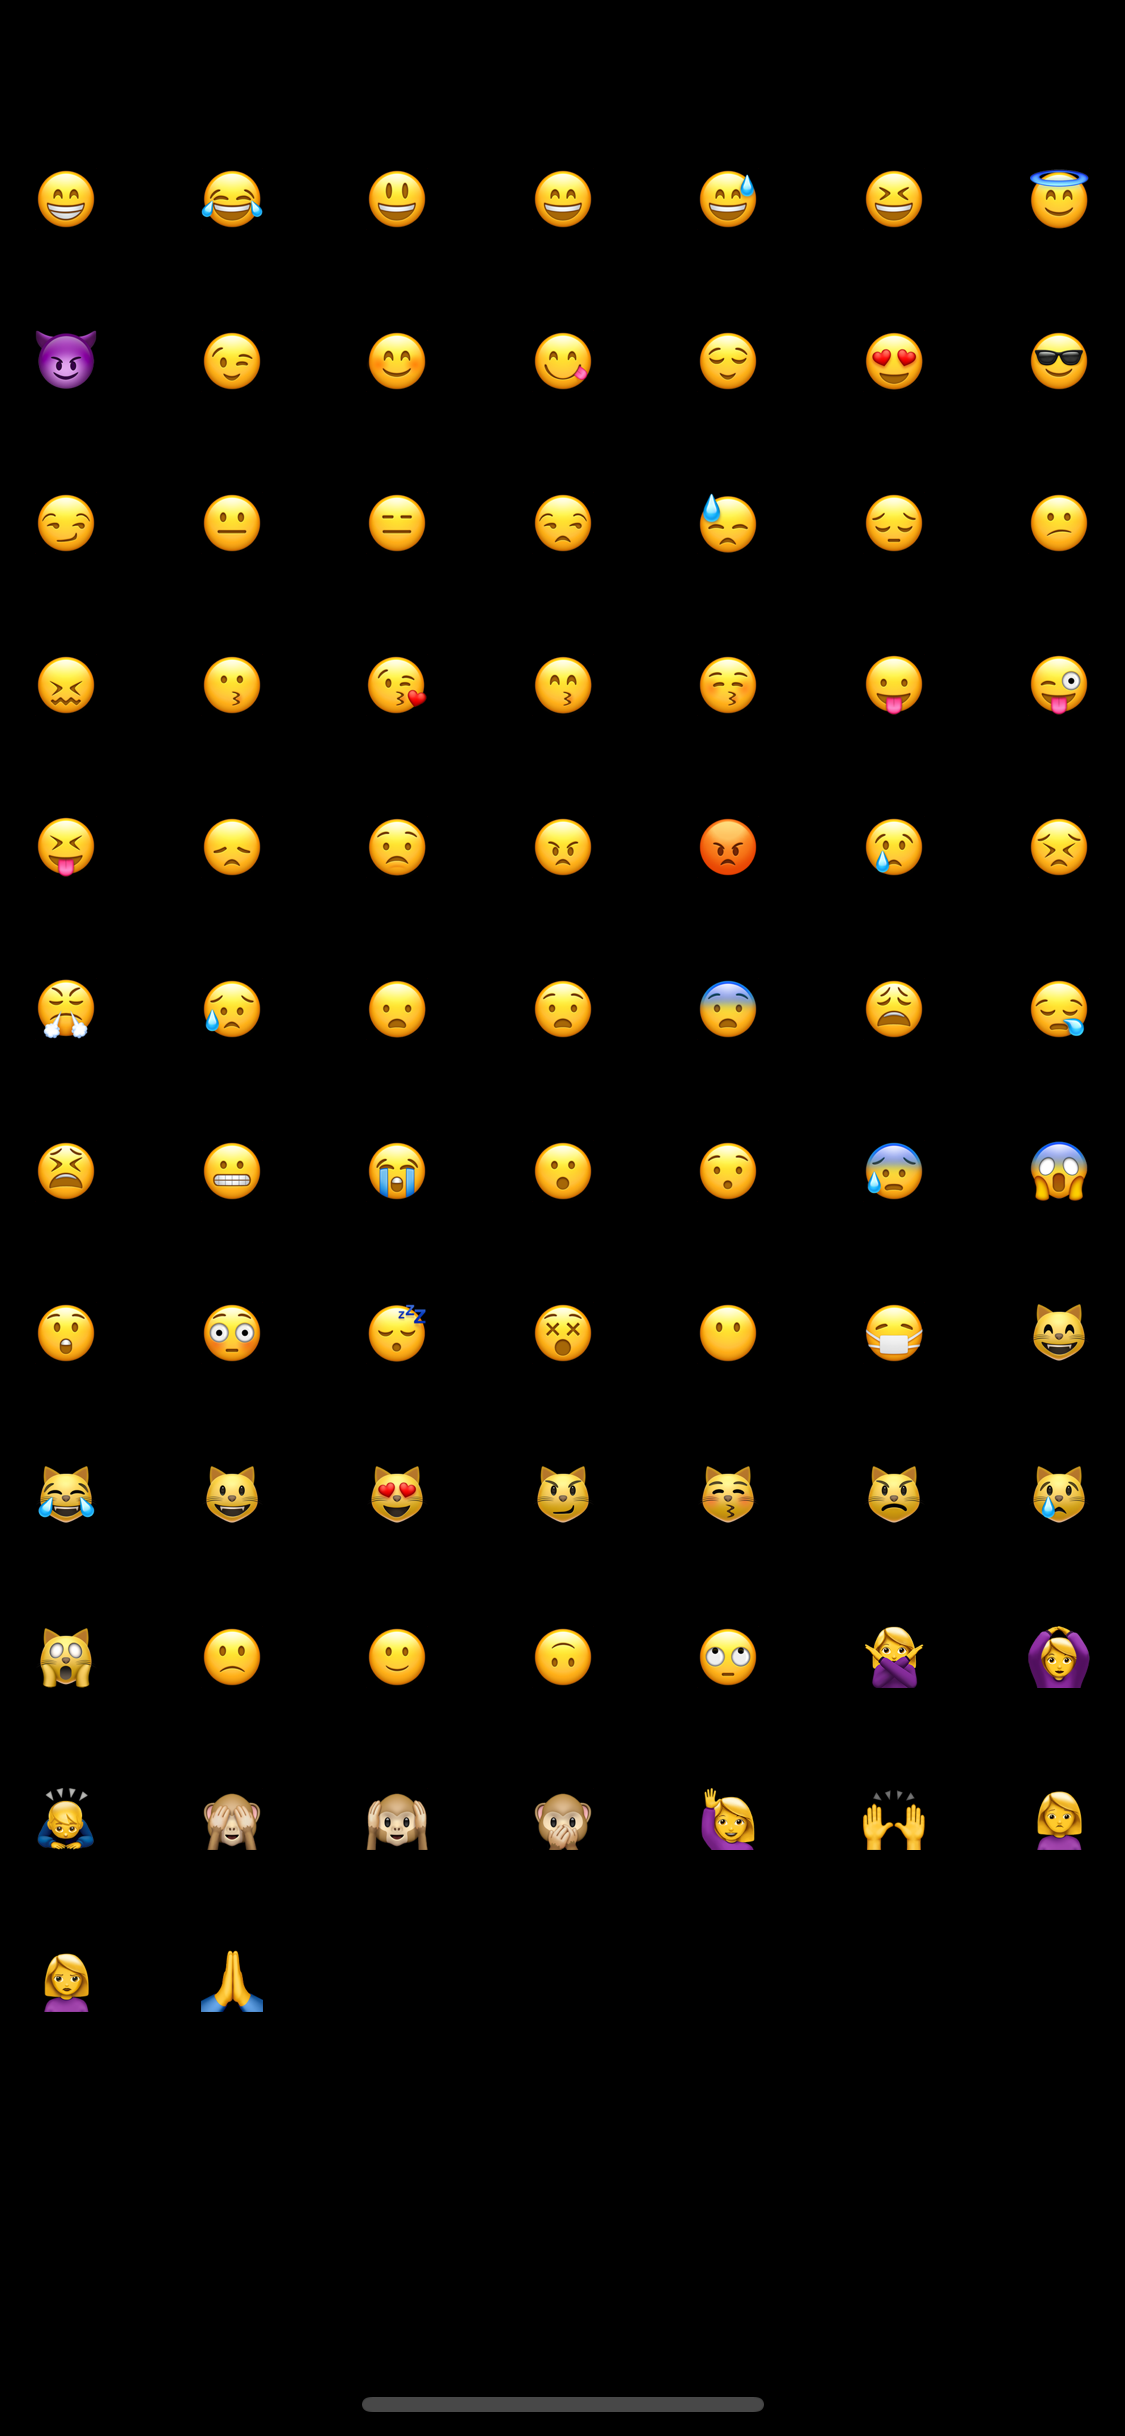
Awesome, now let’s actually do something when an emoji gets tapped.
We’ll create a new view controller to handle displaying the emoji at a large size:
class BigEmojiViewController: UIViewController {

  lazy var label = UILabel()

  private let emoji: String

  init(emoji: String) {
    self.emoji = emoji
    super.init(nibName: nil, bundle: nil)
  }

  required init?(coder aDecoder: NSCoder) {
    fatalError("init(coder:) has not been implemented")
  }

  override func viewDidLoad() {
    super.viewDidLoad()

    view.backgroundColor = .black

    // Display the emoji at a large size in the center of the view!
    label.font = .systemFont(ofSize: 200)
    label.text = emoji
    view.addSubview(label)
    label.translatesAutoresizingMaskIntoConstraints = false
    label.centerXAnchor.constraint(equalTo: view.centerXAnchor).isActive = true
    label.centerYAnchor.constraint(equalTo: view.centerYAnchor).isActive = true

    // Dismiss if user taps anywhere to go back to list of all emojis
    let tapGR = UITapGestureRecognizer(target: self, action: #selector(handleViewTapped))
    view.addGestureRecognizer(tapGR)
  }

  @objc
  private func handleViewTapped() {
    dismiss(animated: true, completion: nil)
  }

}
And update EmojiViewController to present this view controller when an emoji is tapped:
// MARK: UICollectionViewDelegate
extension EmojiViewController {

  override func collectionView(_ collectionView: UICollectionView, didSelectItemAt indexPath: IndexPath) {
    let emoji = emojis[indexPath.row]
    let bigEmojiVC = BigEmojiViewController(emoji: emoji)
    present(bigEmojiVC, animated: true, completion: nil)
  }

}
Looking good! However, while the transition .coverVertical works OK, I think it could be better. Let’s add a custom animation for presentation and dismissal.
It would be pretty neat if instead of just appearing from the bottom, emoji grew out of it’s place in the collection view.
To create this illusion, we can create a custom transition where we animate the emoji scaling and moving between it’s initial place in the list and it’s final location.
To do this, we just need a few things: 1. Selected emoji’s position in the presenting view 2. Transitioning delegate to vend the animation controller 3. Animation controller to pull off the illusion
OK so addressing 1, let’s store frame of selected emoji so the animation controller can read it later.
Next, we’ll need the custom animation controller. This looks a little complex, as we are handing presentation and dismissal with one controller (switching on the isPresenting flag). The key here is that we create a snapshot of the larger sized emoji label to move and scale during the animation - this way, the animation controller doesn’t mess with either presenting or presented view’s layouts.
class EmojiAnimationController: NSObject, UIViewControllerAnimatedTransitioning {

  init(isPresenting: Bool) {
    self.isPresenting = isPresenting
  }

  private let isPresenting: Bool

  func transitionDuration(using transitionContext: UIViewControllerContextTransitioning?) -> TimeInterval {
    return 0.3
  }

  func animateTransition(using transitionContext: UIViewControllerContextTransitioning) {
    guard
      let fromVC = transitionContext.viewController(forKey: .from),
      let toVC = transitionContext.viewController(forKey: .to)
      else {
        transitionContext.completeTransition(true)
        return
    }

    let containerView = transitionContext.containerView

    // add toVC.view as subview. If dismissing, make sure it is under the presented view!
    if isPresenting {
      containerView.addSubview(toVC.view)
    } else {
      containerView.insertSubview(toVC.view, belowSubview: fromVC.view)
    }
    toVC.view.frame = containerView.bounds

    let emojiVC = (isPresenting ? fromVC : toVC) as! EmojiViewController
    let bigEmojiVC = (isPresenting ? toVC : fromVC) as! BigEmojiViewController

    guard let initialFrame = emojiVC.selectedEmojiFrame else {
      assertionFailure("Selected emoji frame not set before presentation")
      transitionContext.completeTransition(true)
      return
    }

    // ensure views laid out for snapshots and positioning
    containerView.layoutIfNeeded()

    let emojiSnapshot = bigEmojiVC.label.snapshotView(afterScreenUpdates: true)!
    containerView.addSubview(emojiSnapshot)
    emojiSnapshot.frame = bigEmojiVC.label.frame

    let initialPosition = CGPoint(x: initialFrame.midX, y: initialFrame.midY)
    let initialScale = initialFrame.height / emojiSnapshot.bounds.height

    // setup for animation
    bigEmojiVC.label.isHidden = true  // snapshot stands in for this view
    if isPresenting {
      emojiSnapshot.center = initialPosition
      emojiSnapshot.transform = CGAffineTransform.identity.scaledBy(x: initialScale, y: initialScale)
      bigEmojiVC.view.alpha = 0.0
    }

    // define animations
    let animations: () -> ()
    if isPresenting {
      animations = {
        emojiSnapshot.center = bigEmojiVC.label.center
        emojiSnapshot.transform = .identity
        bigEmojiVC.view.alpha = 1.0
      }
    } else {
      animations = {
        emojiSnapshot.center = initialPosition
        emojiSnapshot.transform = CGAffineTransform.identity.scaledBy(x: initialScale, y: initialScale)
        bigEmojiVC.view.alpha = 0.0
      }
    }

    UIView.animate(withDuration: transitionDuration(using: transitionContext), animations: animations) { _ in
      bigEmojiVC.label.isHidden = false
      emojiSnapshot.removeFromSuperview()
      transitionContext.completeTransition(true)
    }

  }

}
Note that the view controller we are transitioning to has to be manually added to the container view when both presenting and dismissing. This is because the default modalPresentationStyle removes the presenting view from the view hierarchy once the presentation is complete.
    // add toVC.view as subview. If dismissing, make sure it is under the presented view!
    if isPresenting {
      containerView.addSubview(toVC.view)
    } else {
      containerView.insertSubview(toVC.view, belowSubview: fromVC.view)
    }
Finally, we’ll create a simple transitoning delegate to vend the animation controller in the proper state for presentation and dismissal.
class EmojiTransitioningDelegate: NSObject, UIViewControllerTransitioningDelegate {

  func animationController(forPresented presented: UIViewController, presenting: UIViewController, source: UIViewController) -> UIViewControllerAnimatedTransitioning? {
    return EmojiAnimationController(isPresenting: true)
  }

  func animationController(forDismissed dismissed: UIViewController) -> UIViewControllerAnimatedTransitioning? {
    return EmojiAnimationController(isPresenting: false)
  }

}
And specify it when presenting the BigEmojiViewController:
    bigEmojiVC.transitioningDelegate = emojiTransitioningDelegate
    present(bigEmojiVC, animated: true, completion: nil)
(Note: UIViewController.transitioningDelegate only holds a weak reference, so I added a private property emojiTransitioningDelegate to reference it. The reason I set it here and not on the BigEmojiViewController is because this custom animation should only be used when presenting BigEmojiViewController from a EmojiViewController.)
Awesome, if you’ve been following along, you should have a transition that looks like this:
Wow, thanks for making it to the end! You can find the completed project here. Hit me up on Twitter @akchiller with any questions or comments.