How To: Unit Test Without Running The Entire App
Short circuit your app launch when unit testing. This speeds up the test suite and leaves the application window free for use!
By default, running tests with XCTest launches and runs the app alongside the tests, as they run in the same process. For unit tests, this is generally undesirable as a) it slows down unit tests and b) unit tests are about testing isolated components, not the complete application. With a few lines of code, you can “short circuit” your app launch when running unit tests (safely keeping the code out of production). This also has the added benefit of freeing up the screen for Unit Testing View Controllers and Views.
Setup
First, create a new project from Xcode using the “Single View App” template - making sure “Include Unit Tests” is selected.
Creating the new app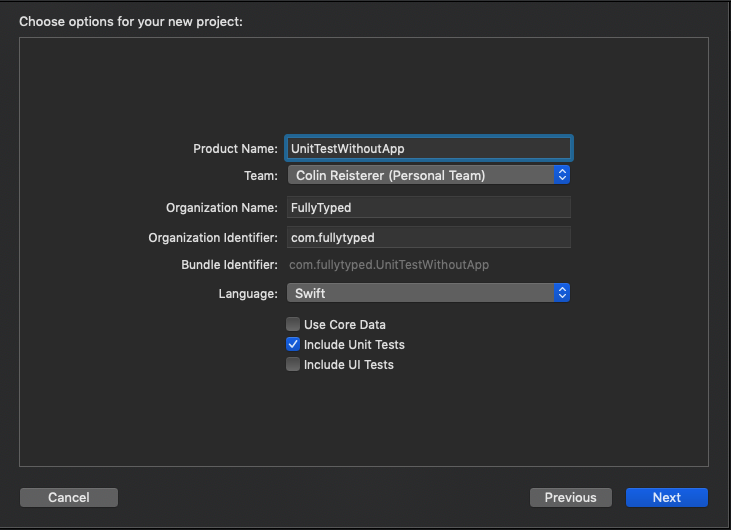
Short Circuiting the App
By default, Xcode projects are set up for storyboard based apps, and include a little voodoo magic that creates the main window and adds the initial view controller in the “Main.storyboard” file as the root view controller of the app. For this unit testing strategy, we only want this setup to occur when we aren’t unit testing, so the voodoo needs to be disabled and we can do setup manually.
This setup is controlled by an entry in the Info.plist entry “Main storyboard file base name” (raw value UIMainStoryboardFile) - you should see it is currently set to “Main”, referencing the “Main.storyboard” file created by the new project template. Just delete this entry!

The offending Info.plist entry
Now, launching the app should just display a blank, dark screen. That’s right, no view controller or even window has been added!

Ah, the void of empty nothingness.
To replace the voodoo with manual setup, we just need to create a window for our application and set the initial view controller in Main.storyboard as the window’s root view controller. Add the following inside the AppDelegate file:
...
  func application(_ application: UIApplication, didFinishLaunchingWithOptions launchOptions: [UIApplication.LaunchOptionsKey: Any]?) -> Bool {
    // Override point for customization after application launch.
    window = UIWindow(frame: UIScreen.main.bounds)
    window!.rootViewController = UIStoryboard(name: "Main", bundle: nil).instantiateInitialViewController()!
    window!.makeKeyAndVisible()
    return true
  }
...
Yep, just by adding 3 lines we’ve got our fully functional (but empty) app back 👍. (You can verify by building and running the project now!) It is more code, but now it’s a lot more clear how our app is launching, and is easy to customize or make any changes to how our app launches.
In our case, we are simply going to “short circuit” our app launch when unit tests are running, just leaving things just as they were after we removed the Info.plist entry. This short circuiting logic will be wrapped in a conditional compilation block, a type of compiler control statement. In our case, we will only compile the logic to shortcut during unit testing into debug builds, so there’s no chance of breaking anything in release.
...
    #if DEBUG
    // short circuit logic goes here
    #endif
...
If app is running under unit tests, we will immediately return from application(_ application: UIApplication, didFinishLaunchingWithOptions… (before creating the window and adding our first view controller)
...
    guard !isTesting else {
        return true
    }
...
We can infer app is running under unit testing by inspecting the process environment for clues that XCTest is being used, as the app and unit tests run in the same process:
...
    let isUnitTesting = ProcessInfo.processInfo.environment["XCTestConfigurationFilePath"] != nil
...
Note: Even though XCTest is used for UI Testing, the tests don’t run in the app process, so isUnitTesting will be false.
Putting it all together, here’s what application(_ application: UIApplication, didFinishLaunchingWithOptions… should look like:
...
  func application(_ application: UIApplication, didFinishLaunchingWithOptions launchOptions: [UIApplication.LaunchOptionsKey: Any]?) -> Bool {

    #if DEBUG
    // Short-circuit starting app if running unit tests
    let isUnitTesting = ProcessInfo.processInfo.environment["XCTestConfigurationFilePath"] != nil
    guard !isUnitTesting else {
      return true
    }
    #endif

    window = UIWindow(frame: UIScreen.main.bounds)
    window!.rootViewController = UIStoryboard(name: "Main", bundle: nil).instantiateInitialViewController()!
    window!.makeKeyAndVisible()
    return true
  }
...
Notice how the code to return early is entirely wrapped in the #if DEBUG conditional compilation block, so even if a bug causes a false positive for isUnitTesting, it won’t affect release builds 👍
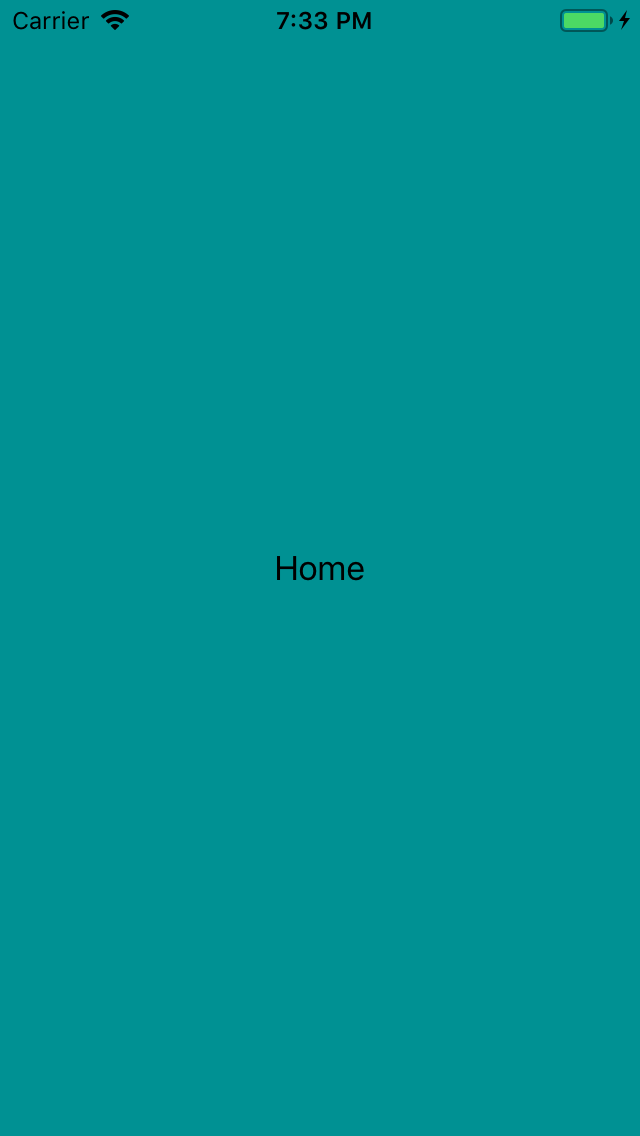
Now, running the app normally should show the main view, while running unit tests should only show a blank screen. Awesome, short circuiting complete!
Next Steps
With this method unit tests can be written in a completely isolated fashion, and without the overhead of the app running and doing its thing. As an added benefit, the screen is now freed up to be used for unit testing UI components. Check out the investigation of that method here.
Wow, thanks for making it to the end! You can find the completed project here. Hit me up on Twitter @akchiller with any questions or comments.