Unit testing views and view controllers on screen
Leverage the in-process nature of unit tests to test your views and view controllers in the application window
Highlights
- Short circuit your app launch when unit testing. This leaves the application window free to use to test UI components.
- Test your screens as you develop using XCTestCase! By temporarily adding pauses in test cases, can manually test and interact with views in isolation.
- When manual testing is complete, use snapshot testing to record and verify view appearance - with a bonus of having visual documentation of your screens
Introduction
Apple provides the XCTest framework for testing iOS and MacOS apps, and it is a powerful, flexible framework for asserting our apps function properly. In regards to unit tests, testing isolated views and view controllers is possible, though arguably a little clunky. For example, when testing view controllers, you need to remember to load the view. The generally accepted answer is to access the view, as the getter will trigger the load:
let viewController = MyViewController()
_ = viewController.view  // load the view for testing
However, this doesn’t actually make the view visible, or add it to a window or view hierarchy. Instead, we can create a visible window in the running application when running tests (either simulator or physical device) and add our view controller’s view, or isolated view, to test there.
Setup
This testing method involves adding view controllers and views to the running application window. Follow these instructions or download the completed project to set up a project that leaves the application window free when unit testing.
Building and running the project should display a screen labeled “Home”, while running unit tests should only result in a blank screen. A blank screen we can use during unit testing!
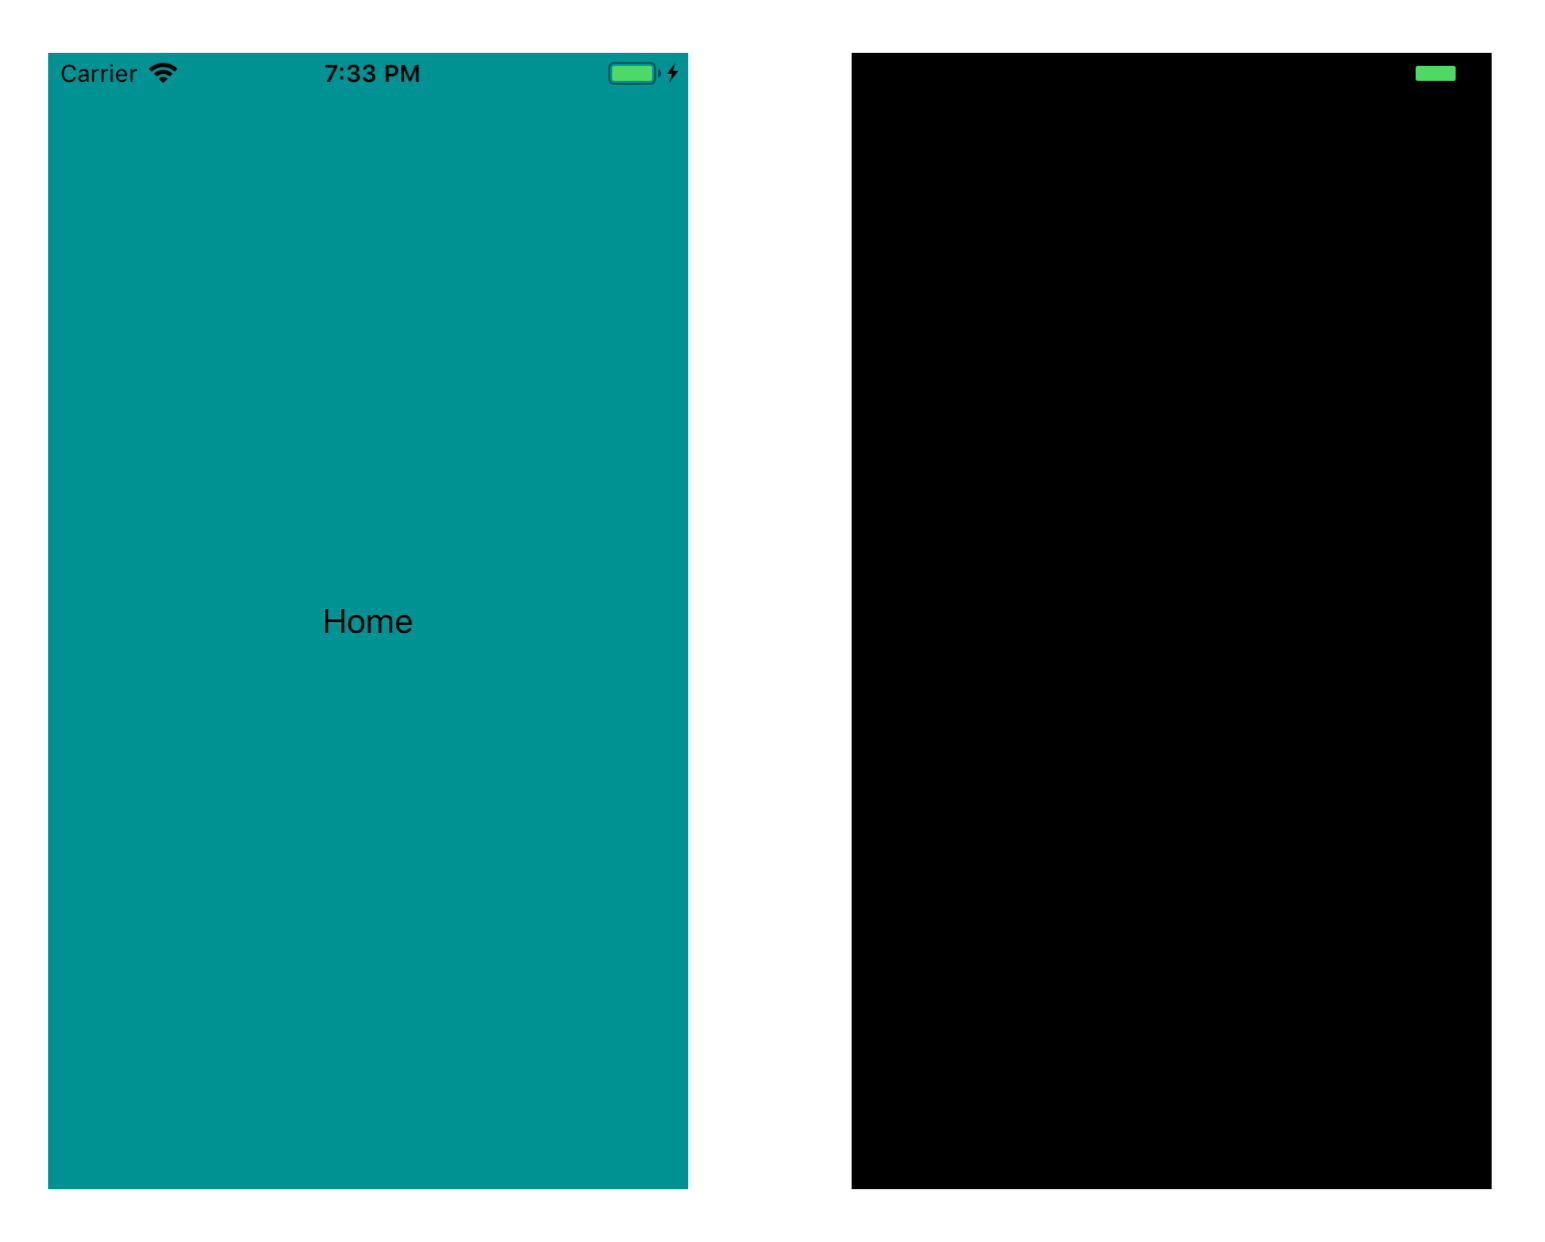
Left: App running normally. Right: App running during unit testing.
Unit Testing a View Controller
Each test should start with a blank slate, just like any unit test. I’ll create a simple XCTestCase subclass that sets up a window we can set the root view controller (our system under test) on:
class ViewControllerTestCase: XCTestCase {

  var rootWindow: UIWindow {
    return appDelegate.window!
  }

  override func setUp() {
    appDelegate.window = UIWindow(frame: UIScreen.main.bounds)
    appDelegate.window!.makeKeyAndVisible()
  }

  override func tearDown() {
    appDelegate.window = nil
  }

}
(I won’t be writing tests in this file, each view controller will map to a class that inherits from ViewControllerTestCase)
Notice here that appDelegate is being referenced - this is accomplished using a simple extension on XCTestCase:
extension XCTestCase {

  var appDelegate: AppDelegate {
    return UIApplication.shared.delegate as! AppDelegate
  }

  func wait(timeout: TimeInterval) {
    let expectation = XCTestExpectation(description: "Waiting for \(timeout) seconds")
    XCTWaiter().wait(for: [expectation], timeout: timeout)
  }

}
I’ve also added a convenience method to wait for a set amount of time. Generally we don’t want to introduce artificial delays in our tests, but I actually use this while I’m building a view and want to manually test it - I can just add a long wait at the end of my test case, allowing me to see and interact with it in the application window.
As an example, I’ve built a view controller for generating random colors, developed entirely from feedback during unit tests. The finished feature looks like this:
To develop and test RandomColorsViewController manually, I’ve create a subclass of ViewControllerTestCase - RandomColorsViewControllerTests:
class RandomColorsViewControllerTests: ViewControllerTestCase {

  func testManually() {
    let vc = RandomColorsViewController()
    let nc = UINavigationController(rootViewController: vc)
    rootWindow.rootViewController = nc
    wait(timeout: 1000)
  }

}
By triggering a pause after the view is added to the window, I can manually test the view controller, without having to build and run the entire app and navigate to the screen. In a larger app that might require sign in, a deep navigation hierarchy, or triggering certain conditions, this can save a ton of time!
And once I’m satisfied with my manual testing, I can remove the indefinite waits and write assertions. Here I’ve used the excellent Swift Snapshot Testing library to assert the initial view looks as expected. With the generated screenshots, this gives the added bonus of visual documentation of how your screens should look!
class RandomColorsViewControllerTests: ViewControllerTestCase {

  func testEmptyState() {
    let vc = RandomColorsViewController()
    let nc = UINavigationController(rootViewController: vc)
    rootWindow.rootViewController = nc
    assertSnapshot(matching: nc, as: .image)
  }

  // TODO: Add tests for generating colors...
}
Unit Testing Views
For anything beyond simple apps, we’re going to be creating a bunch of custom views. Using a similar strategy to testing view controllers, we can unit test these views as well, and interatively develop and get feedback using the trick of adding a delay at the end of the relevant unit test.
The only difference here is just to use a plain old UIViewController as the root view controller of the application window, and use it’s view as a canvas for our custom view testing.
I’ll create another XCTestCase subclass to simplify this setup:
class ViewTestCase: XCTestCase {

  var rootView: UIView {
    return viewController.view
  }

  private var viewController: UIViewController!

  override func setUp() {
    viewController = UIViewController()

    appDelegate.window = UIWindow(frame: UIScreen.main.bounds)
    appDelegate.window!.rootViewController = viewController
    appDelegate.window!.makeKeyAndVisible()
  }

  override func tearDown() {
    viewController = nil
    appDelegate.window = nil
  }

}
Now we can create tests for custom views by inheriting from ViewTestCase and adding the custom view under test to the root view.
Additionally, if the custom view should fill the window, you could create a UIViewController subclass that loads the custom view as it’s root view, which could then be set as the window’s root view controller.
class CustomViewLoadingViewController: UIViewController {

  private let customView: UIView

  init(customView: UIView) {
    self.customView = customView
    super.init(nibName: nil, bundle: nil)
  }

  required init?(coder aDecoder: NSCoder) {
    fatalError("init(coder:) has not been implemented")
  }

  override func loadView() {
    view = customView
  }

}

// example in a ViewControllerTestCase subclass
let customView = CustomView()
rootWindow.rootViewController = CustomViewLoadingViewController(customView: customView)
In Conclusion
While these examples are a little contrived, and using the application window during testing might seem a little odd at first, I want to stress that in large and complex apps, the ability to quickly launch, view and interact with a specific screen cannot be understated. Additionally, if you start developing new screens this way, you’ll be halfway to automated view controller testing with snapshotting and other assertions.
Wow, thanks for making it to the end! You can find the completed project here. Hit me up on Twitter @akchiller with any questions or comments.